 Bolo finds this pleasing, but she would like more. |
| Welcome to Panau | |
|---|---|
 Spoiler: The first and last time you'll see Marshall. | |
| Agency Mission | |
| Previous | Taking Out The Garbage (last mission of Just Cause) |
| Next | Casino Bust |
| Required Chaos | 0 |
| Location | Kem Gunung Dataran Tinggi, Berawan Besar Mountains X:15330; Y:9370 |
| Rewards | |
| Chaos | 10,000 |
| Cash | 20,000 |
| Weapon Parts | 3 |
| Vehicle Parts | 3 |
Welcome to Panau is the first Agency mission in Just Cause 2 that also serves as a tutorial for some gameplay elements.
Introduction[]
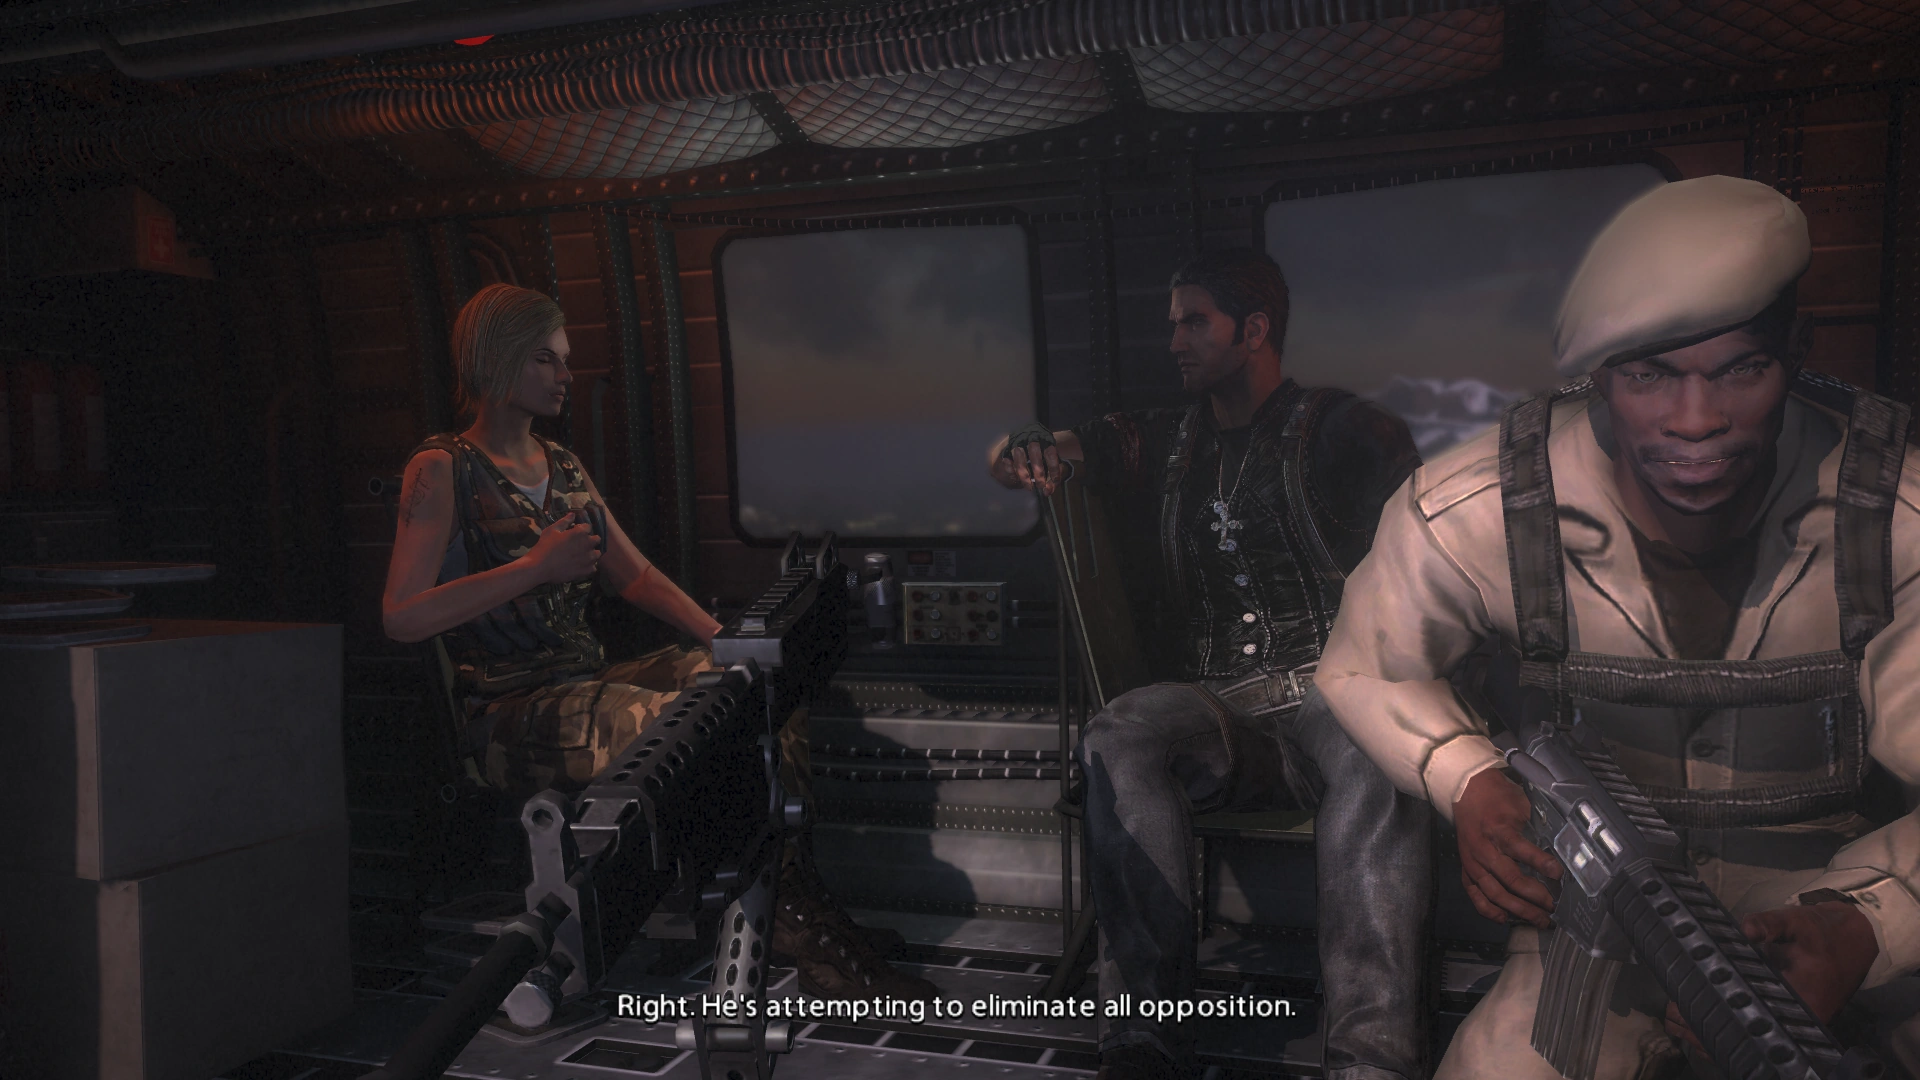
Rico Rodriguez, the protagonist, has just arrived in Panau in search of Tom Sheldon who is his friend and mentor. Tom Sheldon is believed to have gone rogue. Rico also learns a few minor details about the nation and its president: Pandak "Baby" Panay. Moments after arrival the helicopter starts getting shot at by the Panau Military using Flak Cannons that the United States (really The Agency) had sold to Panau.
Use the gallery near the bottom of the page for reference with the walkthrough.
Walkthrough[]
Marshall (a fellow agent at the helicopter's side gun) gets shot and falls out of the H-62 Quapaw helicopter, scattering PDA memory units all around the Kem Gunung Dataran Tinggi military base. He also still has Rico's PDA.
You have to then skydive from the helicopter and grab the PDA from the dead gunner. You do not have access to the grappler or parachute at this moment. Just keep on falling and keep changing directions towards Marshall. Once you get close to him, a cut-scene starts in which Rico takes his PDA from Marshall's dead body. After this, Maria Kane will tell you to land at a marked spot. From this moment you'll have access to the parachute. Approaching the landing spot triggers the next cut-scene. Rico's parachute is on fire, so he detaches himself from it and lands outside the Kem Gunung Dataran Tinggi military base.
Maria Kane will then guide you through the rest of the mission.
Once you land, Kane will tell you to enter the military base. At this moment the grappler gets unlocked for use. Grapple your way into the base. There will be a guard on the edge of a building in front of you. Kane will tell you to use your grappler to pull him down. The first PDA intel card will be beyond that building.
Once the first intel card is retrieved, the guards are alerted and you'll have to kill the first few of them with the new and improved grappler. There are two guards shooting at you from another building edge. Pull them with your grappler to make them fall off the building, or pull those explosive red barrels at the top of that building to kill them. You can only use either of these two methods, because Rico is still unarmed at this point of game. During this point heat level 4 -5 music starts playing.
Kane then tells Rico to obtain a gun. Grapple your way to the dead soldiers and/or to a nearest weapons box and obtain a pistol. The next soldiers will be approaching from in front of you. Don't forget to collect their ammunition once they're dead. Then proceed up the ramp. There will be 4-5 more soldiers to kill. Use boxes as cover during the shooting. Here you'll find the first Medicine cabinet to restore health if needed.
On your way forward, there will be a few more guards to your left. You can use a cable car to get to the next part of the base, but it's also possible to just use the Parachute and Grappler. The second intel card is on top of a building here.
Once the second card is retrieved a hostile attack helicopter shows up. You'll have to use the conveniently close-by Flak Cannon to shoot it down. While here, feel free to shoot at any Sabotage destructible objects. Blowing up parts of the enemy base will earn Chaos points that progress the game.
Once the chopper is down, there's again more soldiers to kill. Kane will then tell you that a guard has taken the third intel card and is trying to make a run for it. Get to the guard at a remote part of the base. The best way to get there is by the cable car, but if that takes too long, you can also use a combination of the Grappler and the Parachute. If you slipped, it's still possible to approach by foot and use the grappling hook to climb up. Once you arrive at this part of the base, there will be a weapon box on the helicopter landing pad containing a Submachine Gun.
Once you've killed everybody here and taken the card, Kane will show up in the big helicopter and tell you to grapple onto it. She will fly you to the next part of the base, to get the next card. While flying, Kane will tell you to shoot at the guards on the building to your left. One of them has a Rocket Launcher. After killing everyone, Kane will tell that it's the "end of the ride". Get down from the helicopter and collect the fourth intel card. Be careful as there will be two soldiers shooting at you with miniguns. While hanging, you can also get off, but it is advised to do it once you've reached the part of the base with the building.
If you decide to drop from the helicopter and head to the area on foot, Kane will alternatively say "You always have to do it your way huh? Well just get on with the mission then."
Once retrieving the final card, a cut-scene starts where two SAMs rise up. Kane tells you that she's unable to extract you until the SAMs are destroyed.
Leaving the courtyard area where the SAMs are located will make the mission stuck, so if you want to go back and blow up any Sabotage destructible objects that you may have missed, you can still do that at this point. It's also possible to return to this base after the mission, so it's fine either way.
The courtyard area where the SAMs are located will have many soldiers, so it may be a good idea to take one of the miniguns with you. The minigun can blow up the SAMs, but there's also a box of Triggered Explosives behind SAMs. It's also possible to destroy them with Fragmentation Grenades, but you should be careful with aiming, because the grenades will only be able to destroy them if they explode as close to the SAMs as possible.
After destroying the SAMs, Kane tells you to "hold your ground" until she arrives. This means that you should not leave the courtyard area. The Panau Military will try to reconquer this part of the base. If you have a minigun, use it. It can destroy the APC and jeeps easier and faster. Get behind the SAM platforms if you need to take cover, but do not grapple anywhere. If you go too far, Kane will never come get you. There will not be any warning. The mission will just become stuck.
If everything goes well, Kane will approach you after the shootout and you'll have to grapple to the helicopter to escape. This triggers the final cut-scene. Rico gets into the helicopter and asks Kane what to do next to find Tom Sheldon. She explains that there's only one person on this island who can tell where Tom would be. He is Karl Blaine - "The Agency's last contact on the island". After this, she tells you to "sit back and enjoy the ride". From here you'll be taken automatically to Karl Blaine's Residence.
This brings you directly to the starting point of the next Agency mission, "Casino Bust", which will start automatically. Don't try to prevent it, or you'll have to start from the beginning again.
Trivia[]
- It is possible to complete this base to 100% during this mission, but that can only be done before destroying the SAMs.
- If you need help with the grappler, see the main article: Protec Grappler G3. The grappler can be used for many things, other than just convenient fast travel, including combat.
- The miniguns can be lifted from their tripods and used to destroy any of the Sabotage Destructible Objects, including the SAMs. Taking one of the miniguns, destroying the SAMs with it, and using it to fight off the guards that attack you while waiting for the helicopter is probably the easiest and fastest way to complete the last part of this mission.
- How the Panau Military got the two MV V880s and SV-1003 Raider up there remains a mystery, as there are no roads leading to the top of the base with no plausible reason for airlifting as well.
- The game time is locked on 2:30 AM during the mission. However, during the segment where Rico skydives to Kem Gunung Dataran Tinggi, the time is locked to 00:00 AM (12:00 AM).
- After destroying the SAMs, it is possible to get into the garage where the vehicles attacking you come out. It is impossible to be stuck however, as there is a switch inside that will let you open the garage door.
- After collecting the fourth memory card and grappling onto Kane's helicopter, the player can glimpse the pilot, who reuses Marshall's model.
- The "No ordinary mission" trailer shows fragments of this mission (at the 1:19 timestamp) which show that this mission was originally set during daytime.
- There's a grunt carrying a rocket launcher on top of one of the unique attached silos. Unfortunately, Rico cannot obtain it. This is the first time you will see a 2-handed weapon before you reach the SAMs and the elites start carrying 2-handed weapons as well.
- This is practically the only time in a mission where you can see someone else skydiving (albeit dead) other than Rico. In gameplay, Panauan paratroopers can be seen as air support, but they only parachute down there.
- You can see the Gunung Gila Pangkat Facility during the skydiving/parachute part, as well as other military bases.
- This mission is similar to Devil's Drop Zone, the first Agency mission in Just Cause, where you also start out skydiving, but in that mission you land at a beachhead instead of this mission, where you land outside of a military base.
- This is one of only three Agency missions where the SV-1003 Raider is featured.
- During the part where Kane says she is "going to make a pass around that building", all the guards can be killed with one shot, even the rocket launcher operator atop the silo.
- During the part where you have to find Marshal's corpse for your PDA, the objective says "Catch up with the dead gunner", hinting that Marshall was to originally operate the turrets instead of Rico.
- Marshall uses an assault rifle (briefly), which might support a possible fact that the assault rifle was made in the U.S.. The assault rifle itself bears a very strong resemblance to the Colt M4A1, which is U.S. made.
- On hardcore difficulty, the minigun operators will be elites. However, they still use Submachine Guns.
- In an apparent instance of Maria Kane defying physics; when she fell out of the helicopter, she fell too far down to be caught by Rico. But instead, her entire body moved back up against gravity a few inches so Rico would be able to catch her.
- Sometimes, it's funny to hear Rico yelling "Next time it's you on the ground and me in the chopper!" while Rico is waiting for the helicopter after destroying the SAMs.
- After you destroy the two SAMs, if you destroy the second MV V880 right when it spawns in the garage, the SV-1003 Raider will instantly spawn inside part of the wreckage and glitch out, causing it to rapidly move towards you, and sometimes make it fall down the mountain.
- During the part where you grapple to Kane's helicopter from the area where you killed the elite with the memory card, there is a song heard that is only rarely heard again.
- There are several things exclusive to this mission.
- The Agency version of the H-62 Quapaw is unique and unobtainable.
- It's armed with a Mounted Gun at the open door.
- It's equipped with an autopilot. Everybody is at the back of the helicopter at first, but then Kane takes control, without anyone having to switch seats. The pilot's seat must have been empty at the start of the mission, unless Kane hijacked it.
- It is the only black one in the game without decals, unless you mod other H-62 Quapaws.
- The elites carry Submachine Guns and grunts carry pistols before you blow up the SAMs. After you blow up the SAMs you'll see the elites equip themselves with assault rifles, machine guns and shotguns, and the grunts carry SMGs, Sawed-Off Shotguns, and revolvers instead of just the pistol. The only exception to this is right before you destroy the SAMs, two grunts wielding Submachine Guns at elevated positions might shoot at you. As such, this mission is sort of unique in the sense that the Panau Military is locked to a single weapon before an event occurs (in this case, the SAMs being destroyed).
- You will never see Marshall again without mods.
- This mission marks the first appearance of the H-62 Quapaw, UH-10 Chippewa, MV V880, and SV-1003 Raider. On that note, only military vehicles are featured in this mission.
- On that above note, this is the only time the MV V880s and the SV-1003 Raider are seen at this base.
- Realistically, there would be several Flak Cannons with the amount of flak being fired at the Agency H-62 Quapaw in the cut-scene, but there are only two flak cannons found at the base, one of which is situated in a less than ideal position. The cut-scenes where the Agency Quapaw takes fire are also the only times in the game where the flak cannons are operated by someone other than Rico.
- Also in the cut-scene where the SAMs are firing at Kane, in the game itself the two SAMs are not firing. This is because they are programmed to fire on Rico or a faction member in heat in a helicopter. That cut-scene is also the only time SAMs are seen firing at a helicopter.
- The pistol, SMG, grenade, and Triggered Explosive weapon crates that spawn at the base during this mission do not normally spawn there. If you go back to the base after Casino Bust, those seven weapon crates will be gone.
- Similarly, while two UH-10 Chippewas spawn at the base in normal gameplay, during this mission those two are not at those spawn points, and the place where the UH-10 Chippewa comes from to attack you is from an area where it is not known to spawn.
- The Agency version of the H-62 Quapaw is unique and unobtainable.
Gallery[]
")
")
")
")
")
.jpg "Welcome to Panau (grapple to the helicopter).jpg (126 KB)")
")
.jpg "Welcome to Panau (ramp to the SAMs).jpg (51 KB)")
.jpg "Welcome to Panau (silo tip).jpg (305 KB)")
.jpg "Welcome to Panau (possible Marshall brother).jpg (204 KB)")
.jpg "Welcome to Panau (Maria Kane calls Triggered Explosives C4 apparently).jpg (258 KB)")
")
.jpg "Welcome to Panau (base explosion).jpg (33 KB)")
")
Video[]
